How to Rename a Drive in Windows 7
Information
This will show you how to rename a drive in Windows 7. For example, a hard disk drive, USB flash drive, CD/DVD drive, etc..... 
Tip
If the drive name is missing or was changed and you did not do it with the methods below, then look for a hidden (not always hidden though) autorun.inf file when you open the drive letter in Computer and right click on the autorun.inf file and click on Delete. Next, approve the deletion. 
Warning
You must be logged in as an administrator to be able to do this. 
EXAMPLE: Rename a Hard Disk DriveEXAMPLE: Rename a DVD Drive
NOTE: Devices with Removable Storage, such as a DVD drive, can only be renamed by adding a label at the end of the drive description. These devices do not have a Rename option in the context menu when you right click on them in Computer.
OPTION ONE:Rename in Computer Window[note]For Devices with Removable Storage, such as a DVD drive, that do not have a Rename option, you will need to use OPTION TWO below instead.1. Open the
Computer window.
2. Select the drive you want to rename to highlight it, then right click on it and click on
Properties and
Rename. (see screenshot below)
3. Type in a name you want for the drive, then press enter. (see screenshots below)
4. Click on
Continue. (see screenshot below)
5. If prompted by
UAC, then click on
Yes.
6. The selected drive is now renamed.
OPTION TWO:Rename Through the Registry1. Open the Start Menu, then type
regedit in the search box and press enter.
2. If prompted by
UAC, then click on
Yes.
3. In regedit, navigate to the location below. (see screenshot below)
Code:
HKEY_LOCAL_MACHINE\SOFTWARE\Microsoft\Windows\CurrentVersion\Explorer
4. In the left pane, right click on
Explorer and click on
New and
Key. Type
DriveIcons and press enter.
NOTE: If you already have the DriveIcons key under Explorer, then go to step 5. (see screenshot above and below)
5. In the left pane, right click on
DriveIcons and click on
New and
Key. Type the drive letter (ex:
D ) that you want to change the icon for and press enter.
NOTE: If you already have the drive letter (ex: D ) key under DriveIcons, then go to step 6. (see screenshot above and below)
6. In the left pane, right click on the drive letter (ex:
D ) and click on
New and
Key. Type
DefaultLabel and press enter.
NOTE: If you already have the DefaultLabel key under the drive letter (ex: D ), then go to step 7 or 8. (see screenshot above and below)
7. To Rename the Drive -A) In the right pane of
DefaultLabel, right click on
(Default) and click on
Modify. (see screenshot below step 6)
B) Type in the new name (HDD) or label (DVD) for the drive and click on
OK. (see screenshot below)
C) The registry should now look similar to this. (see screenshot below)
D) Go to step 9.
A) Right click on the drive letter (ex: D ) from step 5 above that you want to restore, and click on Delete and Yes. (see screenshot below step 5)
9. Close regedit.
10. The changes should be immediate, but in some cases you may need to restart the computer to apply the changes.
That's it,
Shawn
Related Tutorials
.
Attached Thumbnails 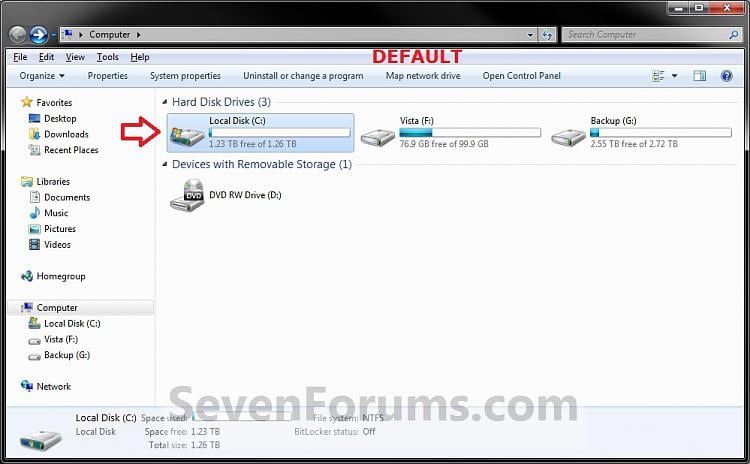


 Reply With Quote


Social Networking Bookmarks