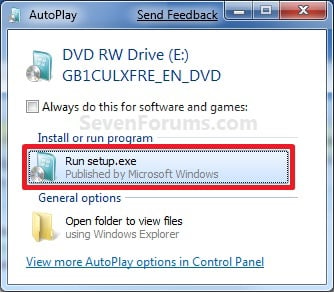
1. To Install from Within Current Windows Installation -A) Place your Windows 7 installation DVD into the DVD drive and click on the
Run setup.exe option in the AutoPlay window from within Vista SP1. (See screenshot below)
NOTE: If the AutoPlay window does not open, then open the drive folder in Computer and run the setup.exe file.
B) Go to step 3 below.
A) Boot the computer from your Windows 7 installation DVD.
NOTE: Make sure that the CD/DVD drive is selected first in the boot order in the BIOS.
B) When prompted, press any key to boot from the installation DVD. (See screenshot below)
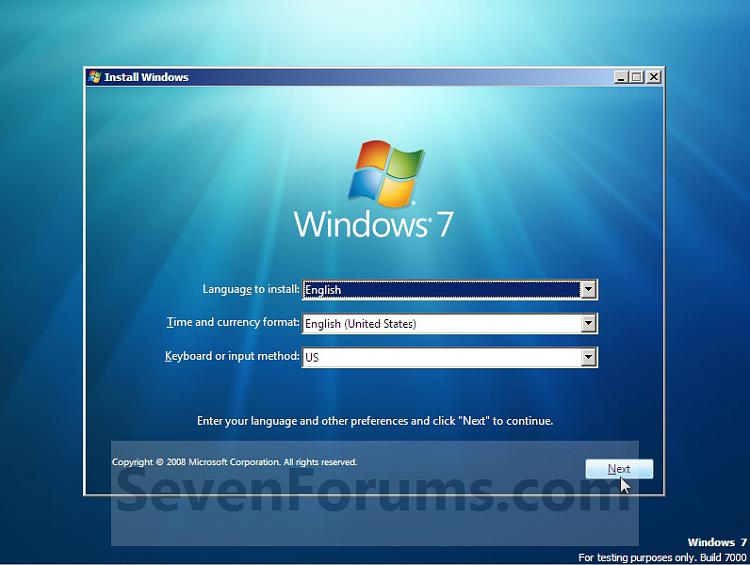
NOTE: You will only have about 8 seconds to press this key. If you miss it, you will have to restart the computer.C) Select your language preferences and click on the
Next button. (See screeshot below).
Click on the
Install Now button to start the installation. (See screenshot below)
4. If you did step 1, then uncheck the
I want to help make Windows installation better box (unless you want to), and click on the
Go online to get the latest updates for installation option. (See screenshot below)
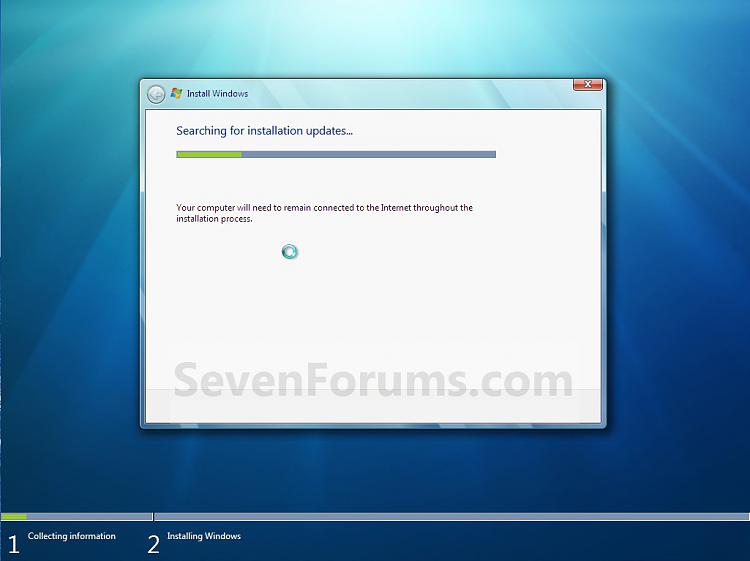
5. If you did step 1, Windows 7 will now check online for and install any available installation updates. (See screenshot below)
6. Check the
I accept the license terms box and click on
Next. (See screenshot below)
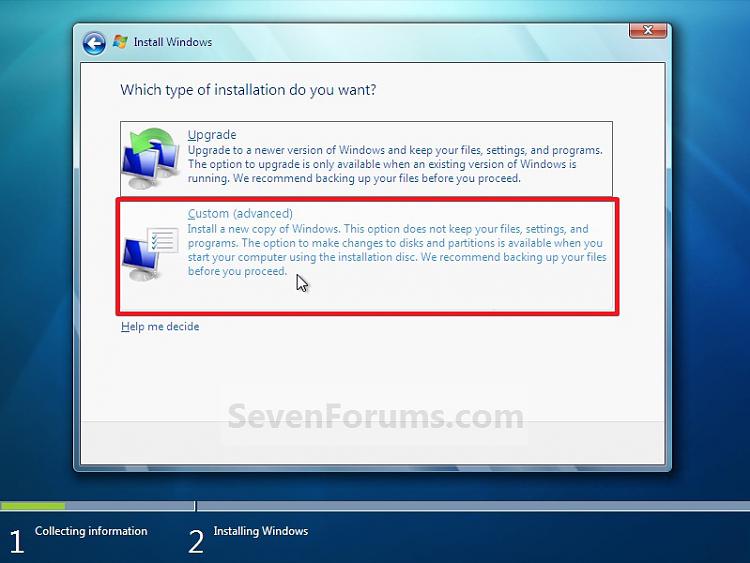
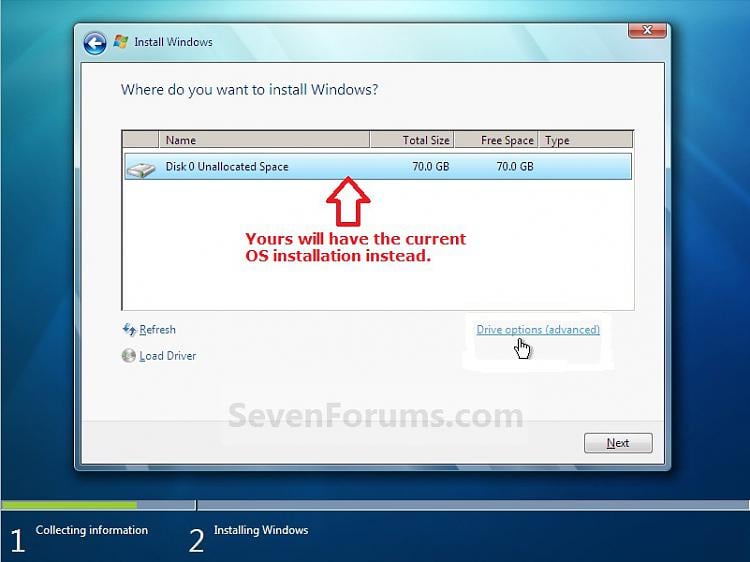
7. Click on the
Custom (advanced) option. (See screenshot below)
8. Select the hard drive or partition for the currently installed Windows installation that you want to install Windows 7 on and click on the
Next button. (See screenshot below)
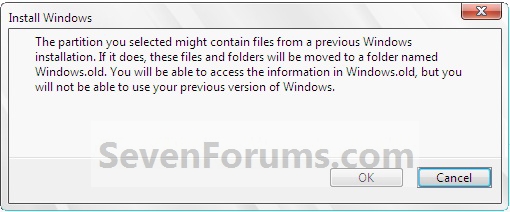
9. Click on
OK. (See screenshot below)
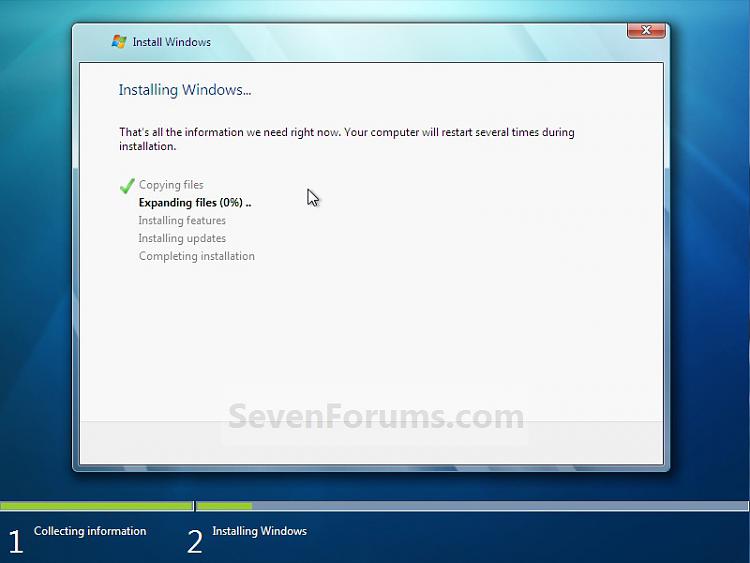
10. The installation of Windows 7 will now begin. (See screenshot below)
NOTE: During the installation process, your screen may flash and computer will restart a few times.
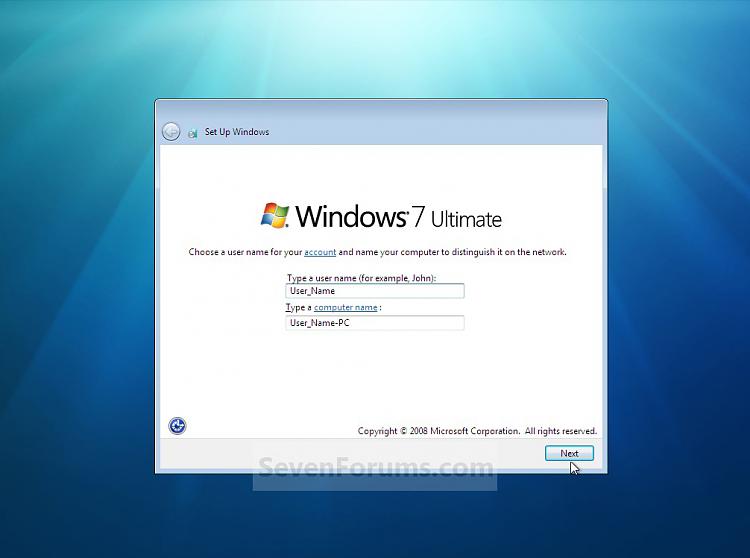
11. After the final restart, you will see this screen for a moment. (See screenshot below)
12. Type in any
user name that you want for your default administrator account and any
computer name, then click on the
Next button. (See screenshot below)
13. Type in a
password you want for your default administrator account. Type it in again to confirm it, then type in a hint for your password. Click on the
Next button. (See screenshots below)
WARNING: The password will be case sensitive. The hint will be seen by all users on the computer, so do not type your password as the hint.
NOTE: If you do not want your your user account password protected at this time or do not want to have to type in a hint, then leave this blank and click on the Next button. You can create a password later for your user account in the Control Panel User Accounts after installing Windows 7 without having to type in a hint.
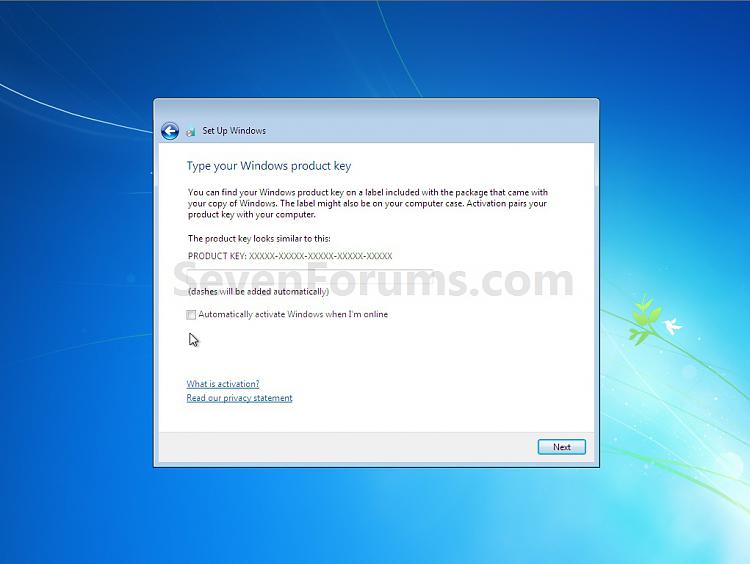
14. Type in your Windows 7
product key number. (See screenshot below step 15)
15. Uncheck the
Automatically activate Windows when I'm online box unchecked, then click on the
Next button. (See screenshot below)
NOTE: You can activate Windows 7 later after you make sure it is running properly. (See step 22 below)
If you chose to automatically activate Windows 7 online when you set up your computer, automatic activation begins trying to activate your copy of Windows three days after you log on for the first time.
16. Click on
Use recommended settings. (See screenshot below)
17. Select your
time zone and set your
time and
date settings, then click on the
Next button. (See screenshot below)
18. Click on your computer's location to select it for the correct network location type settings to be applied for that location. (See screenshot below)
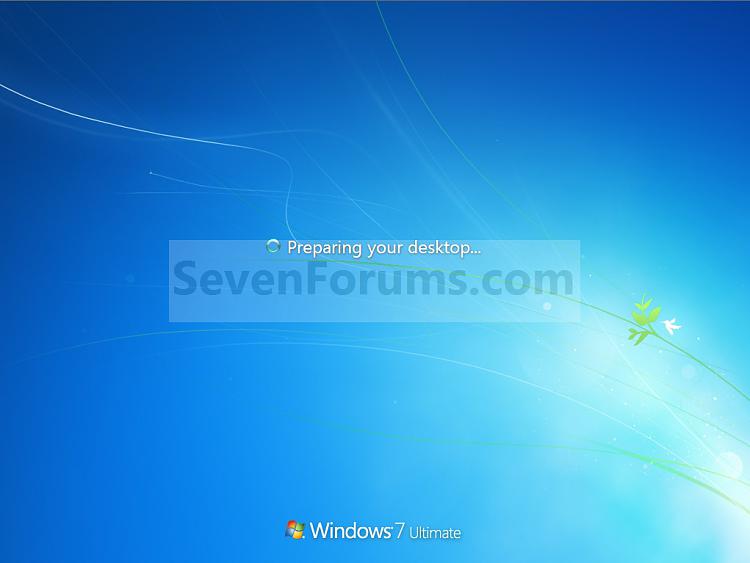
NOTE: It is best to select Public location for the best security.19. Windows 7 will now prepare your desktop to startup. (See screenshots below)
20. Install all of your device drivers, then Windows Updates.
21. Refresh your Windows Experience Index (WEI) score.
22. Copy anything from the prevous installation from the
C:\Windows.old folder that you want back. (See screenshot below)
NOTE: When done, you can delete the Windows.old folder to save hard drive space.
23. When done, all you will need to do is to
activate Windows 7. (See screenshot below)
That's it,


 Reply With Quote


Social Networking Bookmarks